
Flourless Greek Yogurt Brownies Recipe is a delightful surprise for anyone craving a rich, fudgy brownie without the usual flour bump. Imagine biting into a dense, creamy chocolate treat where the tangy Greek yogurt shines through the luscious cocoa—a match made in dessert heaven. I love whipping these up when I want a healthier twist on brownies that still satisfy a serious sweet tooth. Whether you’re serving friends, feeding family, or simply indulging solo, these brownies bring that cozy homemade warmth every time.
Jump to:
What Makes This So Good
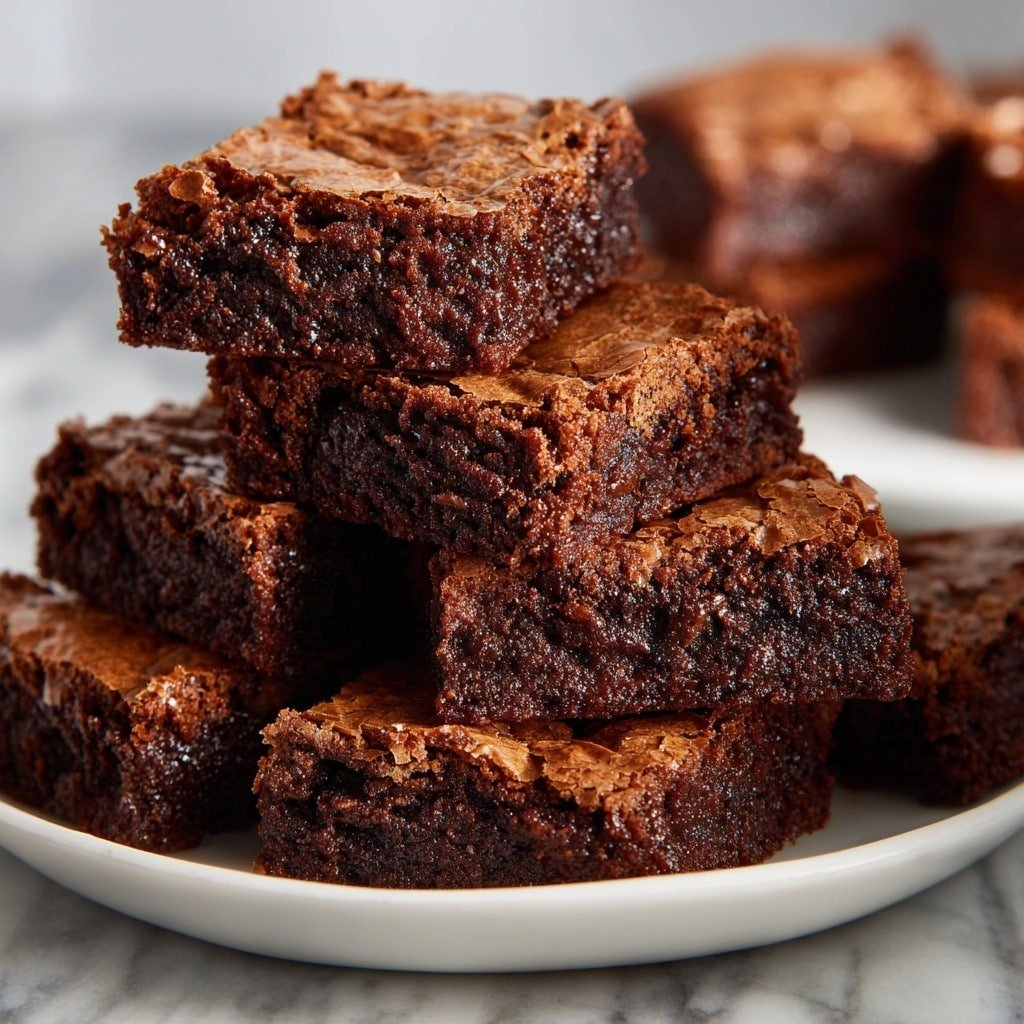
This Flourless Greek Yogurt Brownies Recipe transforms simple pantry ingredients into a luscious dessert that’s fudgy, tangy, and perfectly balanced – no flour needed. The Greek yogurt adds moisture and a subtle tang that brightens the chocolate flavor while keeping the texture tender and rich.
- Big Flavor, Minimal Fuss: No complicated techniques or fancy ingredients—just stirring, baking, and enjoying rich, fudgy brownies in under 30 minutes.
- Family-Friendly: These brownies strike the right balance of indulgence and nutrition, so kids and adults alike will dive right in.
- Simple Ingredients: Pantry staples you already have: Greek yogurt, cocoa powder, eggs, honey, and a few more basics—no flour necessary at all.
- Works Any Night: Great for weeknight dessert or last-minute treats when you want guaranteed crowd-pleasers without the hassle.
Ingredient Guide

Choosing the right ingredients is key to nailing this Flourless Greek Yogurt Brownies Recipe. I always recommend quality cocoa powder and rich Greek yogurt to get that deep chocolate flavor and moist texture. Plus, swapping honey for refined sugars gives a lovely natural sweetness that complements the tang.
- Unsweetened Cocoa Powder: Use a good-quality Dutch-processed cocoa if you can—it gives a deeper, smoother chocolate taste than natural cocoa.
- Greek Yogurt: Full-fat works best for richness, but you can use low-fat if needed. Make sure it’s plain and thick, not flavored or watery.
- Eggs: Fresh large eggs add structure and help create that brownie cakey yet fudgy texture.
- Honey: Adds natural sweetness and moisture. If you want, maple syrup is a nice alternative with its own caramel notes.
- Vanilla Extract: Just a teaspoon boosts all the other flavors and softens the chocolate’s bitterness.
- Baking Soda & Salt: Small amounts give a slight lift and round out the sweetness so it’s never flat or too dense.
Quick Reminder: Full measurements are in the recipe card below.
How to Make Flourless Greek Yogurt Brownies Recipe
Step 1 — Prep & Ready
Start by preheating your oven to 350°F. This ensures heat is steady when your brownies go in. Line an 8×8-inch pan with parchment paper—this makes lifting out the brownies after baking so easy and clean. Measure all ingredients beforehand; it keeps the process smooth without scrambling mid-mix. I also like to gently whisk my eggs before combining, just to get a little extra air in there for a tender crumb.
Step 2 — Cook with Confidence
Mix the Greek yogurt, eggs, honey, and vanilla together using a whisk until silky smooth. You’ll notice a creamy texture that almost feels luscious—that’s what you’re aiming for. Now sift in cocoa powder, baking soda, and salt; this step is important to avoid clumps and evenly distribute the leavening. Stir gently but completely until you get a thick, homogenous batter.
Spread the batter evenly in your prepared pan, smoothing the top with a spatula. Bake for about 20 to 25 minutes. The kitchen will start to fill with a gorgeous chocolate aroma, and you’ll see the edges turning firm and slightly crackled. Use a toothpick to check doneness—it should come out with a few moist crumbs clinging, not wet batter. That ensures your brownies stay fudgy and soft inside instead of cakey.
Step 3 — Finish & Serve
Patience now pays off: let your brownies cool completely in the pan before slicing. This cooling step helps them set perfectly so when you cut squares, they hold together without crumbling. Once cooled, you can slice these up as is or dust with a little powdered sugar or cocoa powder for a pretty finish. They’re already rich and flavorful, so a simple garnish lets the moist texture and chocolate shine.
Extra Helpful Tips
I've learned that keeping an eye on texture cues during baking is crucial with this Flourless Greek Yogurt Brownies Recipe. Overbaking makes them dry, so reminders on timing and finishing elevate your success every time.
- Watch for This Sign: Edges pulling away slightly from the pan and a shiny, cracked top signal they’re done.
- Temperature Trick: Use room temperature eggs and yogurt to mix more smoothly and avoid clumps.
- Prep-Ahead Option: You can prep the batter and refrigerate for up to 24 hours before baking—just add a couple of minutes extra in the oven.
- Avoid This Common Mistake: Don’t skip sifting the cocoa powder; it prevents lumpy batter and uneven baking.
Serve & Enjoy

Easy Enhancements
While these brownies are lovely on their own, you can easily upgrade them with a few add-ons. Try swirling in a tablespoon of peanut butter before baking for a nutty surprise, or sprinkle chopped walnuts or dark chocolate chips on top. A dollop of whipped cream or vanilla ice cream when serving adds a nice creamy contrast to the fudgy texture. I sometimes dust a pinch of cinnamon or espresso powder into the batter for a subtle warm spice note.
Tasty Pairings
These brownies adore simple sips and sides. A cup of freshly brewed coffee or lightly spiced chai pairs beautifully, cutting through the sweetness. For something fresh, serve slices alongside berries or a small citrus salad to brighten the palette. Even a splash of cold milk or almond milk rounds out the experience for more traditional comfort.
Quick Plating Tips
Keep plating simple: line brownies up on a pretty tray with parchment and sprinkle a few sea salt flakes for contrast. Adding fresh mint leaves or edible flowers instantly elevates the look without extra effort. When serving a crowd, cut brownies into bite-sized squares for easy grab-and-go enjoyment.
Store, Freeze & Reheat
Fridge Storage
Store your Flourless Greek Yogurt Brownies in an airtight container in the fridge for up to 4-5 days. You’ll notice they firm up a bit chilled but remain moist and delicious. Bringing them to room temperature before serving helps revive their fudgy softness.
Freezer Friendly?
Yes! These brownies freeze really well. Wrap them tightly in plastic wrap and then foil, or use a freezer-safe container. They keep up to 3 months. To thaw, transfer to the fridge overnight to avoid sogginess, then bring to room temp before enjoying.
Reheat Like New
For a fresh-from-the-oven feel, gently warm brownies in the microwave for about 15 seconds or in a low oven (300°F) for 5-7 minutes wrapped loosely in foil. This helps restore that tender, moist texture that makes this Flourless Greek Yogurt Brownies Recipe so special.
Flourless Greek Yogurt Brownies Recipe FAQs
I recommend sticking with plain Greek yogurt. Flavored versions often contain extra sugars and additives that can change the texture and sweetness balance of the brownies.
Absolutely! Maple syrup or agave nectar work well as natural sweetener alternatives, keeping the moist texture intact while offering a slightly different flavor profile.
Very fudgy! The Greek yogurt adds moisture and density, so while there’s no flour, you still get that rich, creamy texture without heaviness.
Yes, just double all ingredients and bake in a 9x13-inch pan. Keep an eye on the baking time—it might need a few extra minutes. Check with a toothpick to avoid overbaking.
Final Flavor Thoughts
This Flourless Greek Yogurt Brownies Recipe never fails to impress me with its balance of fudgy richness and light tanginess. I hope you’ll give it a go—and if you do, let me know what upgrades you try! Whether it’s adding nuts, spices, or a gooey swirl, this recipe is so forgiving you can’t go wrong. Don’t forget to leave a rating and share your baking stories—I’m always excited to hear how your batch turns out!
Print📖 Recipe
Flourless Greek Yogurt Brownies Recipe

These Flourless Greek Yogurt Brownies are a rich and fudgy treat made without any flour, using Greek yogurt for moisture and protein. Sweetened with honey and flavored with cocoa, they offer a healthier twist on classic brownies, perfect for a gluten-free dessert option.
- Prep Time: 10 minutes
- Cook Time: 20-25 minutes
- Total Time: 35 minutes
- Yield: 9 brownies (3x3 inch squares)
- Category: Dessert
- Method: Baking
- Cuisine: Greek
- Diet: Gluten Free
Ingredients
Brownie Batter
- ½ cup unsweetened cocoa powder
- ¾ cup Greek yogurt
- 2 large eggs
- ½ cup honey
- 1 teaspoon vanilla extract
- ½ teaspoon baking soda
- ¼ teaspoon salt
Instructions
- Preheat oven and prepare pan: Preheat your oven to 350°F (175°C) and line an 8×8-inch baking pan with parchment paper to prevent sticking and to make removal easy.
- Mix wet ingredients: In a mixing bowl, whisk together the Greek yogurt, eggs, honey, and vanilla extract until the mixture is smooth and creamy, ensuring the ingredients are well combined for an even texture.
- Add dry ingredients: Sift in the unsweetened cocoa powder, baking soda, and salt to the wet mixture. Gently stir until all the ingredients are fully incorporated and no lumps remain, forming a thick, glossy batter.
- Pour and smooth batter: Transfer the batter into the prepared baking pan, spreading it evenly with a spatula to create a flat surface for uniform baking.
- Bake the brownies: Place the pan in the oven and bake for 20 to 25 minutes. Test doneness by inserting a toothpick into the center; it should come out with moist crumbs but not wet batter.
- Cool and serve: Let the brownies cool completely in the pan on a wire rack. Once cooled, slice into squares and serve for a delicious, fudgy dessert.
Notes
- For an extra rich flavor, use Dutch-processed cocoa powder.
- You can substitute honey with maple syrup for a different sweetness profile.
- Ensure the Greek yogurt is thick and strained for best texture.
- Do not overbake to keep the brownies moist and fudgy.
- Store brownies in an airtight container in the refrigerator for up to 5 days.


Leave a Reply