
Raspberry Swirl Snowball Cake Recipe is one of those delightful desserts that perfectly balances light, fluffy cake with a vibrant swirl of tart raspberry goodness. Imagine a soft cloud of cake, almost snowball-like in texture, dotted with bursts of sweet-tangy raspberry that dance on your tongue. It’s a showstopper for birthdays, cozy weekend treats, or anytime you want to impress without stress. If you love desserts that look fancy but taste like comfort wrapped up in flavor, this recipe is definitely for you.
Jump to:
What Makes This So Good
This Raspberry Swirl Snowball Cake Recipe combines the fluffiest snowball texture with a vibrant, fresh raspberry swirl that really lifts the whole dessert. The balance between sweet, creamy cake and naturally tart raspberry makes it a treat you’ll want again and again.
- Big Flavor, Minimal Fuss: You get a stunning cake with bright raspberry flavor that’s easy to make, even if you’re juggling a busy schedule.
- Family-Friendly: Kids and grown-ups alike love the soft, tender crumb and the surprise of sweet berries in every bite.
- Simple Ingredients: You probably have most of what you need in the pantry and fridge, so there’s no need for special shopping.
- Works Any Night: Whether you need a spontaneous dessert or something for your next gathering, this cake fits the bill beautifully.
Ingredient Guide
Choosing the right ingredients really makes your Raspberry Swirl Snowball Cake Recipe shine. Paying attention to freshness and quality here sets you up for that light, tender crumb and the luscious raspberry swirl.
- All-purpose flour: Opt for fresh, unbleached flour for the best cake texture. It helps keep things soft and tender.
- Granulated sugar: Regular granulated sugar works perfectly, but superfine sugar can make the batter blend smoother if you have it.
- Butter: Use unsalted butter at room temperature. It cream beautifully with sugar for that perfect fluffy base.
- Eggs: Large eggs at room temperature help the batter emulsify evenly, ensuring consistent rise and texture.
- Raspberry puree or jam: Fresh or frozen raspberries pureed and lightly sweetened offer a fresh taste, but a good-quality jam works well for convenience.
- Vanilla extract: Adds a subtle warmth that supports the raspberry without stealing the spotlight.
- Baking powder and salt: Vital for lifting the cake and balancing sweetness.
- Powdered sugar (for dusting): A snowy touch that finishes the look to live up to the “snowball” name.
Quick Reminder: Full measurements are in the recipe card below.
How to Make Raspberry Swirl Snowball Cake Recipe
Step 1 — Prep & Ready
Start by preheating your oven to 350°F (175°C). While it warms up, grease your cake pan—preferably an 8-inch round or square with some depth—to avoid any stickiness later. You'll want to line the bottom with parchment paper for easy release too. Bring your butter and eggs to room temperature; this little step makes mixing smoother and keeps the cake tender. If you're using fresh raspberries, blend them into a puree and strain to remove seeds—it’s worth the extra effort for that silky swirl. Have your measuring tools, mixing bowls, and spatulas handy to keep everything running smoothly.
Step 2 — Cook with Confidence
Begin by creaming your softened butter with sugar until fluffy and pale—you’ll notice it lightens noticeably and smells heavenly. Add eggs one at a time, beating well after each to create a smooth, creamy batter. Next, fold in your dry ingredients (the flour, baking powder, and salt) carefully to keep that air trapped inside. Now, for the fun part: swirl your raspberry puree through the batter. Drop spoonfuls of puree over the cake batter in the pan, then gently drag a knife or skewer through to create pretty ripples. Bake in your preheated oven for about 35–40 minutes. The aroma will be sweet and inviting; check by inserting a toothpick into the center—it should come out clean or with a few moist crumbs but no wet batter. Watch for golden edges and a springy top that’s tender to the touch.
Step 3 — Finish & Serve
Once your cake is out of the oven, let it cool in the pan for 10–15 minutes. This rest lets it firm up just enough to unmold without breaks. Transfer it carefully to a cooling rack so it cools completely; nothing worse than a soggy bottom! Before serving, dust generously with powdered sugar—the snowball effect wouldn’t be complete without that. Cut into generous slices and notice how each bite boasts the perfect balance of moist cake and refreshing raspberry swirls. I love serving this with a dollop of whipped cream or a scoop of vanilla ice cream for that extra creamy touch.
Extra Helpful Tips
I always like to keep a few tricks up my sleeve to make sure your Raspberry Swirl Snowball Cake Recipe turns out perfectly every time.
- Watch for This Sign: When creaming butter and sugar, look for a pale, fluffy mixture—that’s your sign it’s fully aerated for a tender crumb.
- Temperature Trick: Room temperature ingredients blend better and prevent the batter from curdling, so give eggs and butter an hour out before starting.
- Prep-Ahead Option: You can make the raspberry swirl ahead and refrigerate it in an airtight container for up to 2 days; warm gently before swirling in.
- Avoid This Common Mistake: Don’t overmix after adding flour; fold gently to keep your cake light and airy.
Serve & Enjoy

Easy Enhancements
If you want to take your Raspberry Swirl Snowball Cake Recipe a notch higher, try drizzling a simple glaze made from powdered sugar and a splash of lemon juice over the top. A sprinkle of toasted sliced almonds adds a crunchy contrast that’s delightful. Fresh mint leaves also brighten the plate and taste. For a richer version, a cream cheese frosting with a hint of vanilla can complement the raspberry swirl beautifully.
Tasty Pairings
This cake pairs wonderfully with light herbal teas like chamomile or mint. For a fancy afternoon treat, a glass of sparkling rosé or a fruity white wine works beautifully. If serving as a dessert after dinner, a scoop of vanilla bean ice cream or a fresh berry compote alongside enhances every mouthful.
Quick Plating Tips
Keep it simple but elegant: dust your Raspberry Swirl Snowball Cake Recipe with confectioners’ sugar just before serving to give a snowy finish. Serve on white or pastel plates to highlight the vivid raspberry swirls. Add a few fresh raspberries and a sprig of mint on the side for color contrast and freshness. Using a sharp knife that's wiped clean between slices ensures neat portions with minimal crumb mess.
Store, Freeze & Reheat
Fridge Storage
Your Raspberry Swirl Snowball Cake Recipe keeps well in the fridge for up to 4 days. Store it in an airtight container or tightly wrapped with cling film to prevent drying out or picking up fridge odors. Note that refrigeration might firm up the cake a bit, so bring it to room temperature before serving to enjoy its soft texture again.
Freezer Friendly?
This cake freezes quite well! Wrap individual slices tightly in plastic wrap and place them in a freezer-safe bag or container. To thaw, pop the slices in the fridge overnight or leave them on the counter for a couple of hours. Avoid thawing in the microwave to preserve the cake’s delicate texture and raspberry swirl integrity.
Reheat Like New
If you want to gently warm the cake after refrigerating or freezing, a low oven temperature around 300°F (150°C) for 5-10 minutes works best to revive softness without drying it out. Alternatively, microwave on a medium setting in short 20-second bursts, checking after each, to keep it moist and tender. I find warming just before serving makes the raspberry flavor burst beautifully again.
Raspberry Swirl Snowball Cake Recipe FAQs
Absolutely! Just thaw them first and strain the puree to remove excess seeds and moisture for a smooth swirl. It preserves flavor beautifully and makes this recipe possible year-round.
Yes! A good-quality raspberry jam or preserves work well. You might want to warm it slightly to make swirling easier and reduce chunks that won’t spread evenly.
To keep your beautiful swirl visible, gently fold the raspberry puree in only at the end, and use a toothpick for soft swirling rather than vigorous mixing. Also, avoid adding too much liquid puree to keep the batter balanced.
Yes, with a good gluten-free flour blend that’s designed for baking. Make sure to use one with xanthan gum included for best results, and expect a slightly different texture but still delicious!
Final Flavor Thoughts
I hope making this Raspberry Swirl Snowball Cake Recipe brings you as much joy as it does me—there’s just something about the soft crumb and fresh raspberry swirls that feels like a warm hug from the inside. If you try it out, don’t forget to leave a star rating or drop a comment sharing your favorite twist or how it turned out. Next time, you might try adding lemon zest to the batter for a little citrus sparkle or swirling in other berries. Happy baking, friend!
Print📖 Recipe
Raspberry Swirl Snowball Cake Recipe

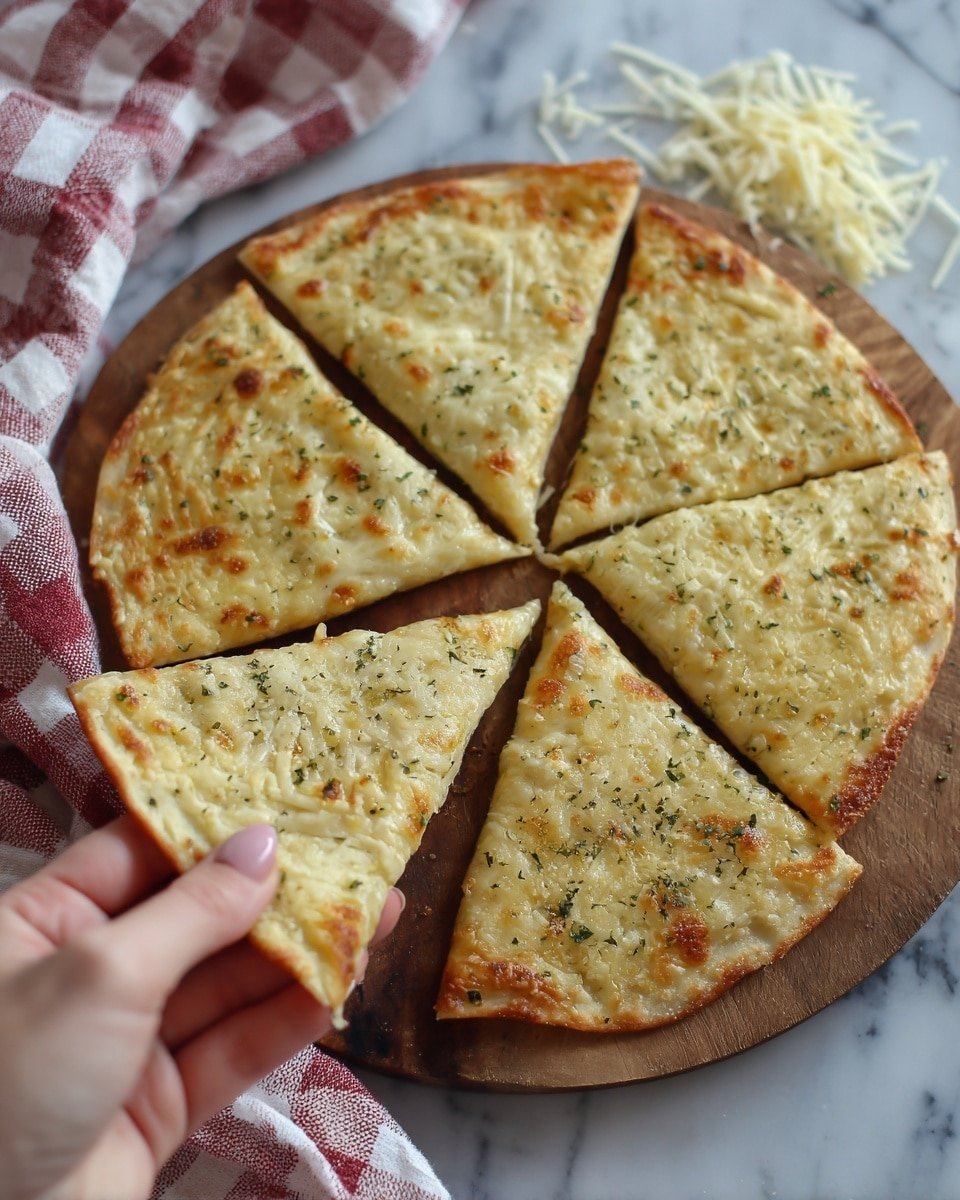
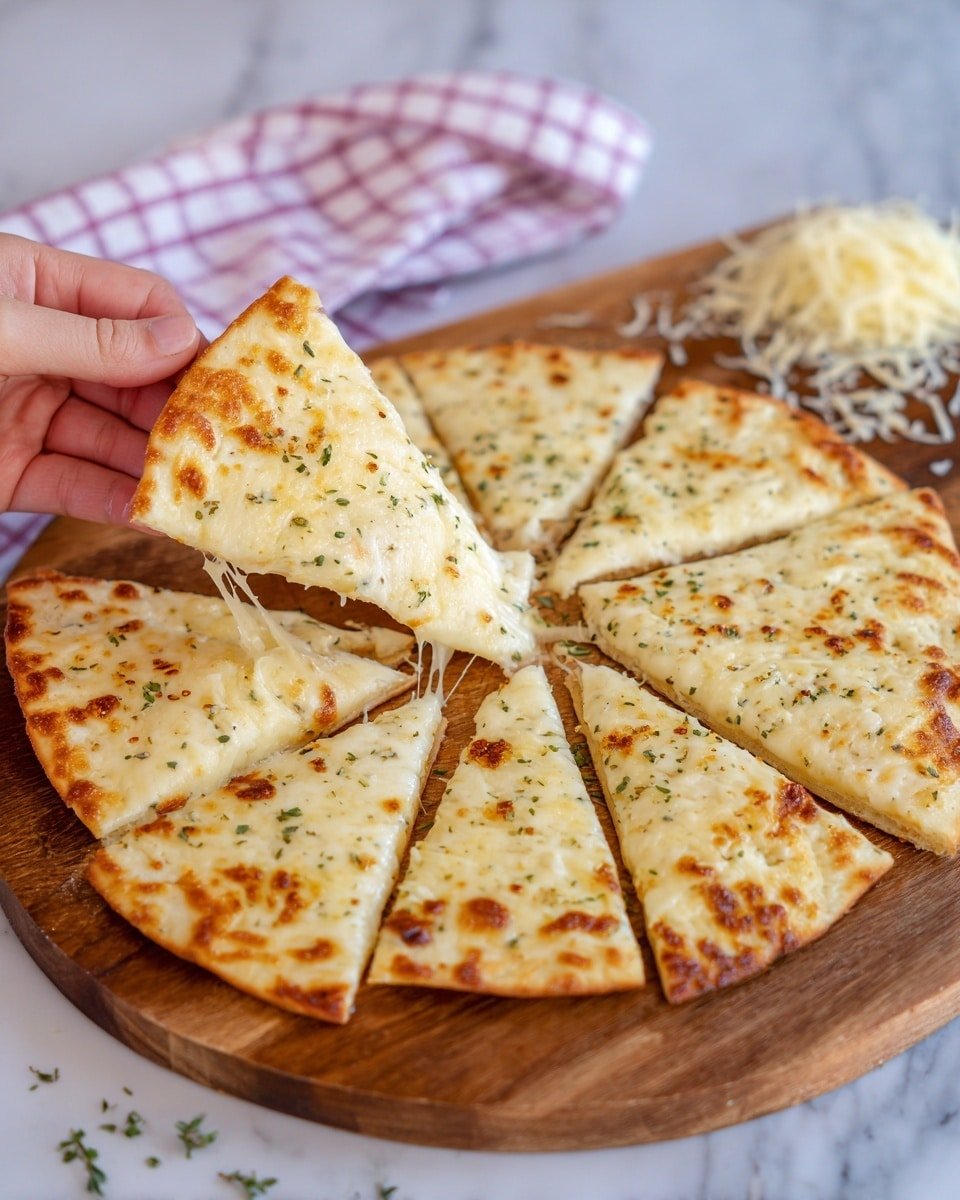
This Air Fryer Cheesy Tortilla Garlic Bread is a quick and delicious snack made by layering buttered tortillas with mozzarella cheese, garlic powder, and Italian seasoning, then air frying until golden and crispy. Perfect for a cheesy, garlicky treat in minutes.
- Prep Time: 5 minutes
- Cook Time: 5 minutes
- Total Time: 10 minutes
- Yield: 4 servings
- Category: Snack
- Method: Air Frying
- Cuisine: American
- Diet: Vegetarian
Ingredients
Tortillas and Butter
- 2 flour tortillas (soft taco size, any size that fits in your air fryer)
- 2 tablespoons softened butter (about 1 tablespoon per tortilla)
Cheese and Seasoning
- 1 cup shredded mozzarella cheese (divided between tortillas)
- ½ teaspoon garlic powder
- ½ teaspoon Italian seasoning
Instructions
- Prepare the Tortillas: Use a butter knife to spread softened butter evenly over both flour tortillas, covering them all the way to the edges. One tablespoon of butter for each tortilla works well.
- Add Cheese and Seasoning: Sprinkle a generous amount of shredded mozzarella cheese evenly over each buttered tortilla. Then, lightly dust with garlic powder and Italian seasoning to add flavor.
- Stack and Air Fry: Place one cheese-laden tortilla on top of the other to create a stack. Preheat your air fryer to 375°F (190°C), then carefully place the stacked tortillas inside.
- Cook the Garlic Bread: Air fry for about 5 minutes, watching carefully. Remove as soon as the cheese has melted, turned a deep golden brown, and the edges of the tortillas are crispy.
- Slice and Serve: Let the cheesy tortilla garlic bread cool for a minute or two. Then use a pizza cutter to slice into individual servings and enjoy while warm.
Notes
- Use softened butter for easy spreading and even coverage.
- Adjust the amount of garlic powder and Italian seasoning to your taste preference.
- Keep an eye on the garlic bread in the air fryer to prevent burning as cooking times may vary based on air fryer models.
- You can substitute mozzarella with other cheeses like cheddar or a blend for different flavors.
- Serve as a snack, appetizer, or side dish with soups and salads.


Leave a Reply